Getting Started
This chapter provides instructions on how to install and run the code for general users. Also it provides instructions for developers on how to install, test and build the package of the code. These instructions have been tested on Windows 7, Linux, and OS 10.11.x and is expected to work on most of modern operating systems.
Instructions for general users
Installation
The VAWS code currently runs with Python 3.6 or higher version with many dependencies. It is recommended to create a Python environment dedicated to the code without disrupting the existing environment. With conda, you can manage environments easily. Instructions below are based on conda, but virutalenv can be used alternatively.
- Install Miniconda
Download and install Miniconda(https://conda.io/miniconda.html) with Python 3.6 or higher version. This step can be skipped if either Miniconda or Anaconda with Python 3.6 or higher version is already installed.
Windows
- Double-click the downloaded Miniconda3-latest-Windows-x86_64.exe file.
- When installation is finished, from the Start menu, open the Anaconda Prompt.
Linux
In Terminal window, run
$ bash Miniconda3-latest-Linux-x86_64.shMac
In Terminal window, run
$ bash Miniconda3-latest-MacOSX-x86_64.sh
- Create a conda environment.
In the terminal client, enter the following command to create the environment called vaws_env.
conda create -n vaws_env
- Activate the environment.
In the terminal client, enter the following to activate the environment.
conda activate vaws_env
- Install the code from conda channel
In the terminal client, enter the following to install the code.
conda install -c dynaryu vaws
Updating
In case new version of the code is available, you may update the code. The conda environment vaws_env should be activated first as 2.1.1 step 3. And then enter the following commands with in the terminal to update with the new version of the code.
conda update -c dynaryu vaws

## Package Plan ##

      environment location: /foo/vaws_env

      added / updated specs:
            - vaws


    The following packages will be downloaded:

            package          |            build
            -----------------|-----------------
            vaws-3.4         |           py36_1         2.3 MB  dynaryu
            --------------------------------------------------
                                         Total:         2.3 MB

    The following packages will be UPDATED:

      vaws                                 3.2-py36_1 --> 3.4-py36_1


    Proceed ([y]/n)?
Running through GUI
To run the code, the conda environment vaws_env should be activated first as 2.1.1 step 3. And then enter the following command in the terminal.
vaws
The default scenario will be loaded as shown in Fig. 1. See chapter 4 for details.
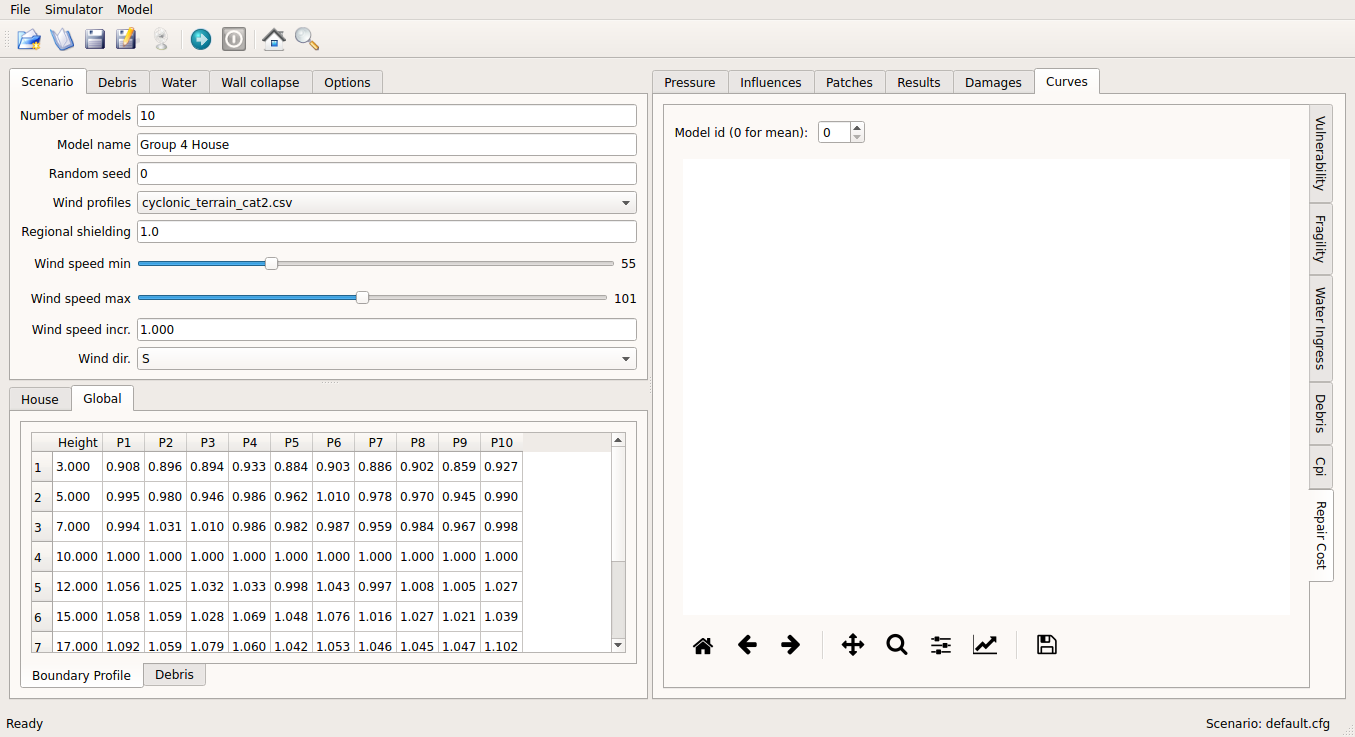
Fig. 1 Program main window with default scenario loaded
Instructions for developers
The development of the code is tracked using the git version control system. The source code is at https://github.com/GeoscienceAustralia/vaws.
Installation
- Get the source code
Source code can be copied by cloning the git repository or downloading the zip file from the git repository.
If git is installed, run the following command in the terminal
$ git clone git@github.com:GeoscienceAustralia/vaws.gitOtherwise download the zip file (https://github.com/GeoscienceAustralia/vaws/archive/master.zip) and then extract it.
This step will create directory called <vaws dir>.
- Create a conda environment.
Make sure either miniconda or anaconda is installed. Otherwise install either Miniconda or Anaconda with Python 3.6 or higher version as 2.1.1 step 1. Then create the environment called vaws_env. by entering the following command in the terminal.
Windows
cd <vaws dir>
conda env create --name vaws_env --file vaws_win64_py3.6.7.yml
Linux/Mac
cd <vaws dir>
conda env create --name vaws_env --file vaws_linux64_py3.6.7.yml
This will create the environment called vaws_env. The vaws_env can be activated as 2.1.1 step 3.
- Create GUI
To create the GUI of the code, enter the following commands in the terminal.
Windows
cd <vaws dir>\vaws\gui
build.cmd
Linux/Mac
cd <vaws dir>/vaws/gui
./build.sh
- Run the code
The code can be run in either GUI or CLI mode.
GUI
cd <vaws dir>
python -m vaws.gui.main  # for default scenario
python -m vaws.gui.main -c <config_file>  # for a specific scenario
CLI
cd <vaws dir>
python -m vaws.model.main -c <config_file>  # for a specific scenario
Building the conda package
The conda package building is automated through appveryor CI for windows and travis CI for linux, respectively. See appveryor.yml and .travis.yml for details. The built conda package is located on https://anaconda.org/dynaryu/vaws/. Steps for the conda package is described below for manual building. Please refer to (https://conda.io/docs/user-guide/tutorials/build-pkgs.html) for details.
- Install conda-build and anaconda-client
To build the package, you need to install conda-build and anaaconda-client in the conda root environment not the vaws_env environment. And then enter the following in the terminal.
conda install conda-build anaconda-client
- Build the package
In the terminal client, enter the following to build the package.
cd <vaws dir>/build
conda-build .
At the end of the building, you should see something like below:
Updating index at /foo/anaconda2/conda-bld/noarch to make package installable with dependencies
INFO:conda_build.build:Updating index at /foo/anaconda2/conda-bld/noarch to make package installable with dependencies
Nothing to test for: /foo/anaconda2/conda-bld/osx-64/vaws-2.0.3-py27_1.tar.bz2
# Automatic uploading is disabled
# If you want to upload package(s) to anaconda.org later, type:

anaconda upload /foo/anaconda2/conda-bld/osx-64/vaws-2.0.3-py27_1.tar.bz2

# To have conda build upload to anaconda.org automatically, use
# $ conda config --set anaconda_upload yes

anaconda_upload is not set.  Not uploading wheels: []
- Upload to anaconda channel
In the terminal client, enter the following to upload the package to the channel.
anaconda login
anaconda upload <package>
Testing the code
To test the code, the conda environment vaws_env should be activated first as 2.1.1 step 3. And then enter the following command in the terminal.
cd <vaws dir>
python -m unittest -v
You should see something similar to below.
test_distribute_damage_by_row (vaws.model.tests.test_simulation_batten.TestHouseDamage) ... ok
test_calc (vaws.model.tests.test_stats.MyTestCase) ... ok
test_calc2 (vaws.model.tests.test_stats.MyTestCase) ... ok
test_calc_big_a_b_values (vaws.model.tests.test_stats.MyTestCase) ... ok
test_compute_arithmetic_mean_stdev (vaws.model.tests.test_stats.MyTestCase) ... ok
test_compute_logarithmic_mean_stdev (vaws.model.tests.test_stats.MyTestCase) ... ok
test_gev_calc (vaws.model.tests.test_stats.MyTestCase) ... ok
test_gev_calc2 (vaws.model.tests.test_stats.MyTestCase) ... ok
test_sample_logrnormal (vaws.model.tests.test_stats.MyTestCase) ... ok
test_calc_zone_pressures (vaws.model.tests.test_zone.MyTestCase) ... ok
test_get_grid (vaws.model.tests.test_zone.MyTestCase) ... ok
test_set_differential_shieding (vaws.model.tests.test_zone.MyTestCase) ... ok
test_str2num (vaws.model.tests.test_zone.MyTestCase) ... ok

----------------------------------------------------------------------
Ran 134 tests in 131.287s

OK (skipped=1)
Documentation
The VAWS user manual is generated using the Sphinx documentation tool (http://www.sphinx-doc.org/en/1.7/). The source code of the manual is located at the subdirectory called docs under vaws root directory. Both the html and pdf versions of the manual can be generated using the commands below:
cd <vaws dir>/docs
make html   # for html format
make latexpdf  # for pdf format
The html version of the manual can be updated to the manual website (http://geoscienceaustralia.github.io/vaws) as below. Note that the <build_dir> can be set in the Makefile in the docs directory.
cd <build_dir>/html
git checkout gh-pages
git commit -m <commit_message>
git push origin gh-pages
The pdf version of the manaual can be accessed at https://github.com/GeoscienceAustralia/vaws/tree/master/manaual.pdf.