Runnning the tool
To calculate the BAL, we use the BAL calculation tool within the BAL toolbox installed in ArcGIS 10.2.
Select the tool, see Fig. 23.
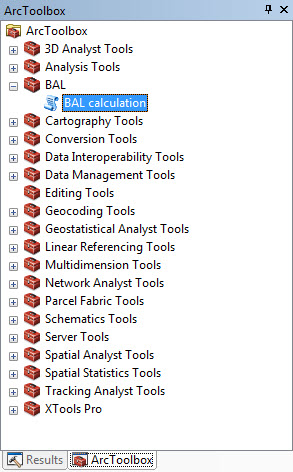
Fig. 23 Select the tool BAL calculation.
Then the BAL calculation window is open, see Fig. 24.
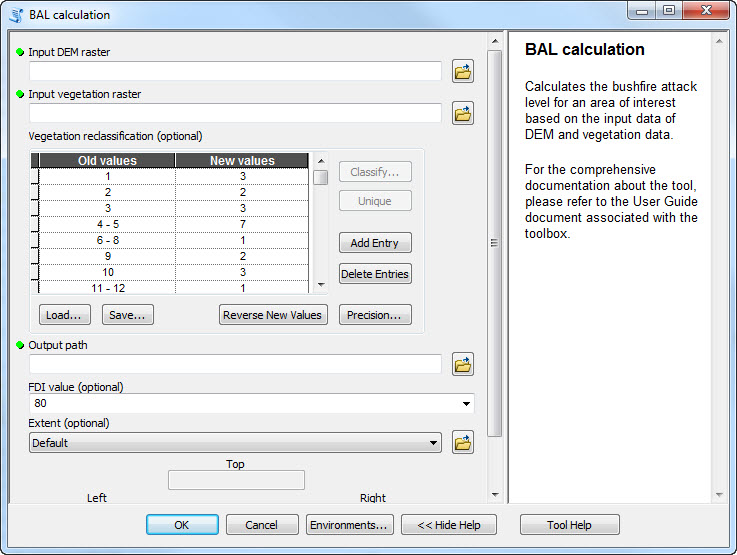
Fig. 24 The BAL calculation window.
Getting help from within the toolbox
On the left of the dialog window is the input fields, options and the output fields. We will work through these in turn. On the right, help content for each of the dialog’s entry fields are displayed. As you move to different entry fields the content in this panel will update.
You can toggle the tool help on and off, by clicking the Tool Help button on the lower right corner of the dialog window.
Another way to access the help is via the menus. Right click on the script and select “Help”. This will display the full help menu for the Bushfire Attack Level Toolbox.
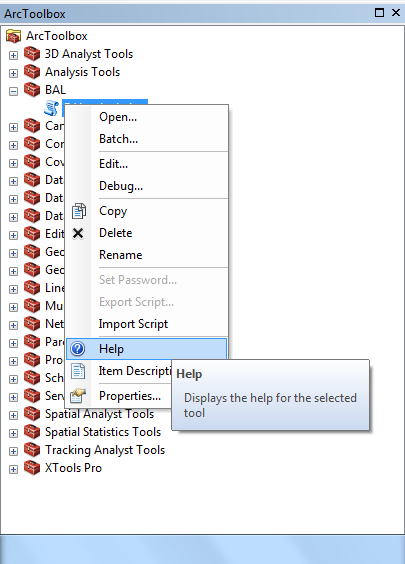
Fig. 25 Accessing the BAL Toolbox help menu.
Input fields
Input digital elevation model
The first input field is the digital elevation model. Click the folder
icon button ![]() to browse to the location of the required
DEM raster file. The DEM must be in a projected coordinate system,
with a linear unit of metres. Additional information can be found in
the Projection section.
to browse to the location of the required
DEM raster file. The DEM must be in a projected coordinate system,
with a linear unit of metres. Additional information can be found in
the Projection section.

Fig. 26 Digital Elevation Model input field.
Input classified vegetation raster
The second input field is for the classified vegetation layer. Again,
click the folder icon button ![]() to browse to the location
of the required classified vegetation raster file. As with the DEM,
the classified vegetation raster should be in a projected coordinate
system, matching the DEM, though this is not essential.
to browse to the location
of the required classified vegetation raster file. As with the DEM,
the classified vegetation raster should be in a projected coordinate
system, matching the DEM, though this is not essential.

Fig. 27 Classified vegetation raster input field.
The next input field is the vegetation reclassification table. It is presumed that the input classified vegetation dataset will not exactly match the classification required in AS 3959-2009 (see Vegetation classification). For this reason, the Bushfire Attack Level Toolbox allows users to reclassify the input dataset to the values required for calculation of the BAL.

Fig. 28 Vegetation reclassification table, pre-populated with values to reclassify National Vegetation Information System data to AS 3959–2009 values.
The reclassification table is pre-populated with values matching the National Vegetation Information System (NVIS) data. Under the “Old values” column, the integer values representing different vegetation classes in the NVIS classes. Under the “New values” column are the integer values to which the NVIS classes will be mapped. These new values represent the seven classes set out in AS 3959–2009.
A different clasified vegetation dataset will necessitate a change to the reclassification table. You can add and delete entries using the Add Entry and Delete Entries buttons. You can save the existing table using the Save... button, or load a pre-existing table using the Load... button.
Classifying another vegetation dataset should be done in consultation with someone with expertise in vegetation classification. AS 3959–2009 does provide some descriptive information on the vegetation types in each of the primary 7 classes and the sub-classes (Table 2.3).
Output path
The output path is specified in the next field. Click the folder
button ![]() to browse to a folder that you want to store the
results of the BAL analysis.
to browse to a folder that you want to store the
results of the BAL analysis.

Fig. 29 Output path field entry.
Note
There are some limitations to the name length and file path length in ESRI applications. The maximum number of characters in the full path name (including file name) is 128 characters. In testing, each folder name’s length should be restricted to a maximum of 8 characters.
FDI value
The Fire Danger Index (FDI) value used to evaluate BAL is defined in AS 3959–2009, and is based on the jurisdiction (i.e. State or Territory), or a sub-region within jurisdictions, as defined in the National Construction Code, Volume 2 [NCCV2]. The default value is an FDI of 80, but values of 100, 80, 50 and 40 can be selected. The Help sidebar provides the FDI values for different regions, as per AS 3959–2009.

Fig. 30 Fire Danger Index (FDI) options menu.
Extent
The Extent option provides a way to select the area for analysis. There are four options in the dropdown menu: Default, Union of Inputs, Intersection of Inputs and As Specified Below.
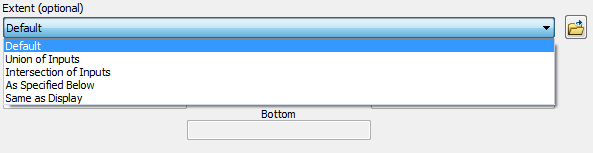
Fig. 31 Extents options menu.
The Default option is the common area between the DEM and the classified vegetation data layers. It is not possible to calculate BAL in areas where there is only one input data (i.e. DEM or classified vegetation). The As Specified Below option allows users to manually select an area of interest. This may be a subset of the complete coverage of the DEM and classified vegetation. If the specified region is larger than the intersection of the inputs, then the extent of the intersection of the inputs will be used.
Note
If specifying the extents manually, these should be in projected coordinates, i.e. in the coordinate system the DEM uses.
Run the toolbox
Once the input datasets have been specified and the other options set, you can now click the OK button to execute the analysis. When the analysis runs, a dialogue window will appear and start displaying a series of messages.
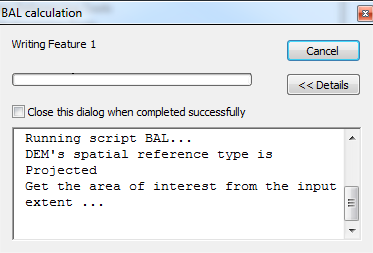
Fig. 32 Progress dialogue for the BAL calculation.
Depending on the extent of the region, and the horizontal resolution of the DEM and classified vegetation data, the analysis will take anywhere from less than a minute to several hours to execute. When the analysis is complete, the BAL calculation dialogue will indicate successful completion:
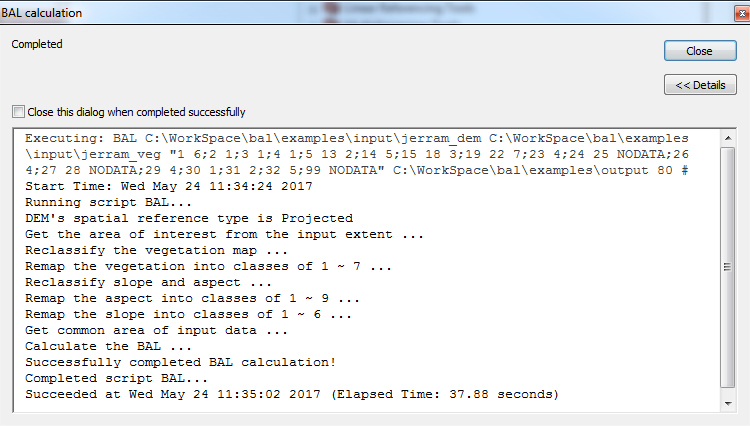
Fig. 33 Completed dialogue for the BAL calculation. Note the final line says “Succeeded at...”.
Click the Close button in the top right corner to close the BAL calculation dialogue. You can review the log messages by opening the Results panel in ArcCatalog: .
Check the output
On successful execution of the BAL calculation tool, there should be 9 raster datasets in the output folder. There are eight, for each of the cardinal directions (north, northeast, east, etc.). A ninth raster dataset represents the maximum BAL of all eight directions for each grid cell.
The output rasters are ERDAS Imagine raster files (with a .img
extension), 32-bit floating point data, using the same projected
coordinate system as the input DEM.
The data can now be added to an ArcMap session for inspection.
| [NCCV2] | National Construction Code, Volume 2. http://www.abcb.gov.au/Resources/Publications/NCC/NCC-2016-Volume-Two |